Steps

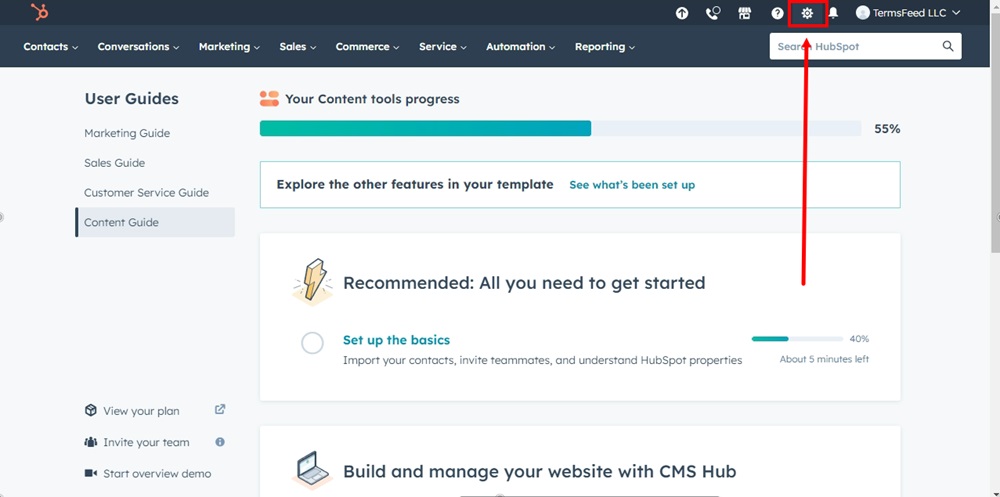
  1. Log in to HubSpot. From the HubSpot dashboard, go to Settings:

    TermsFeed HubSpot - Dashboard - Settings

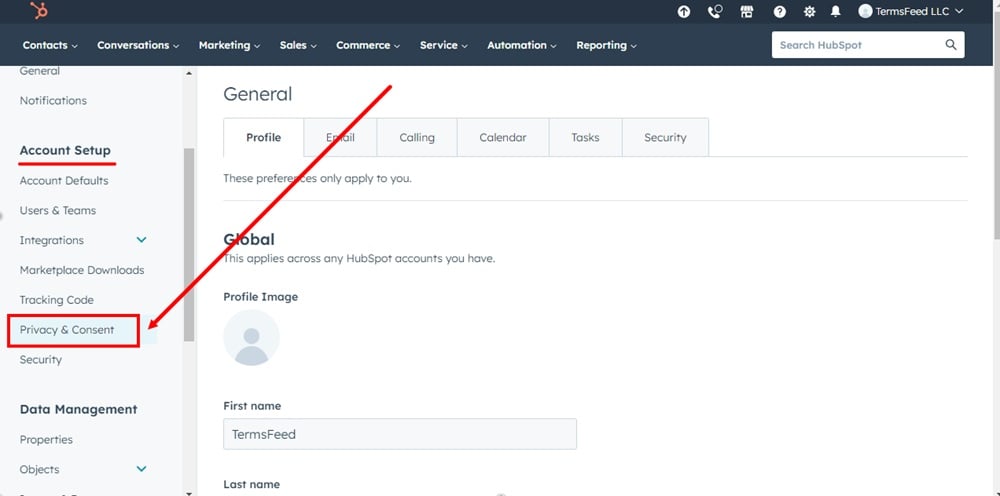
  2. Under Account Setup, find Privacy & Consent:

    TermsFeed HubSpot - Settings - Account Setup - Privacy and Consent

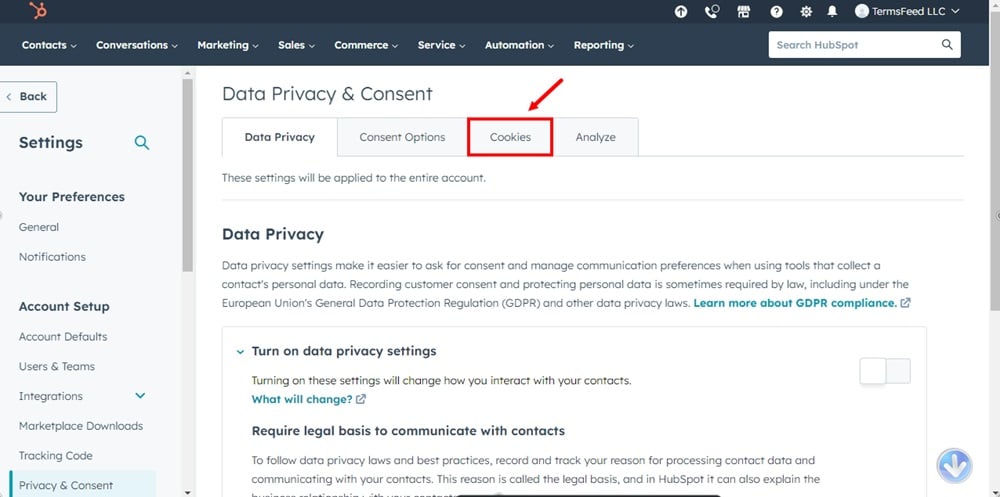
  3. Switch to the Cookies tab:

    TermsFeed HubSpot - Settings - Account Setup - Privacy and Consent - Cookies tab

  4. Go to the Manage banners:

    TermsFeed HubSpot - Settings - Account Setup - Privacy and Consent - Cookies tab - Manage banners highlighted

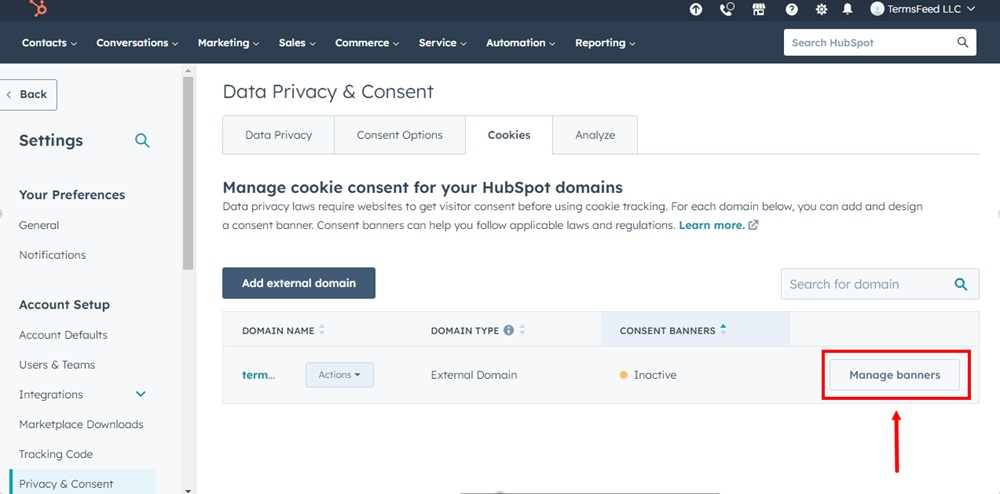
    Note: This assumes that you already added and set a domain for the cookie banner. If you have not done that, you'll need to add a domain first.

  5. Click on the Create consent banner button:

    TermsFeed HubSpot - Settings - Account Setup - Privacy and Consent - Cookies tab - Manage banners - Create consent banners highlighted

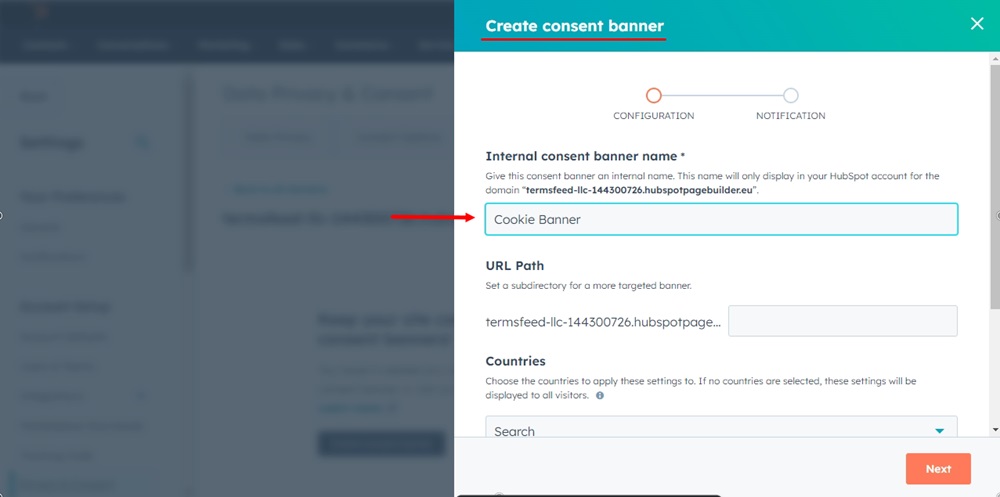
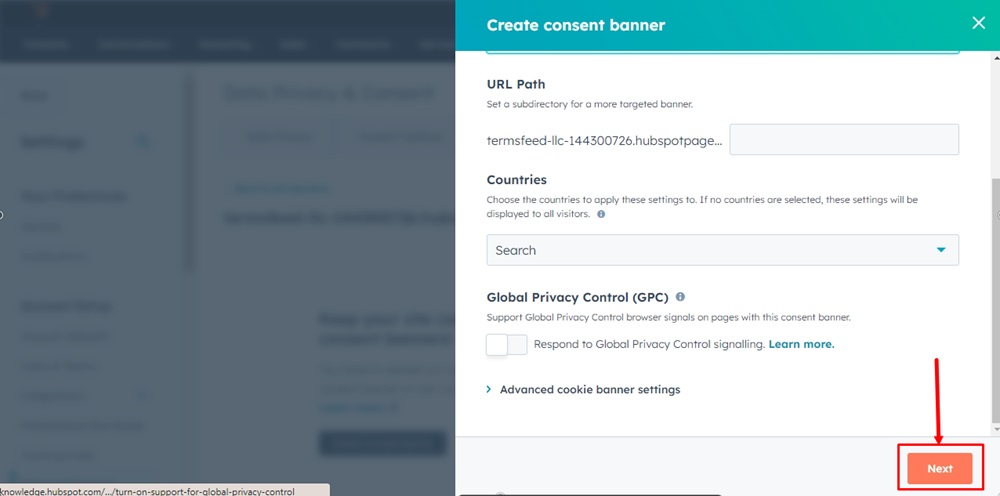
  6. A sidebar dialog Create consent banner will open. Adjust settings under the Configuration step. For example, name your internal consent banner:

    TermsFeed HubSpot - Create consent banners - Configuration step - Name internal consent banner highlighted

  7. Click Next:

    TermsFeed HubSpot - Create consent banners - Configuration steps - Next highlighted

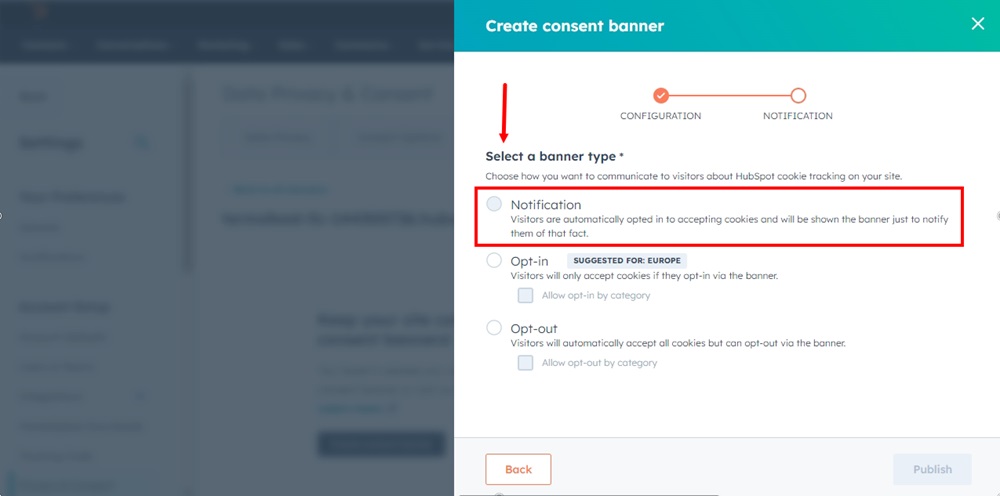
  8. On the Notification step, select a banner type:

    TermsFeed HubSpot - Create consent banners - Notification step - Select a banner type highlighted

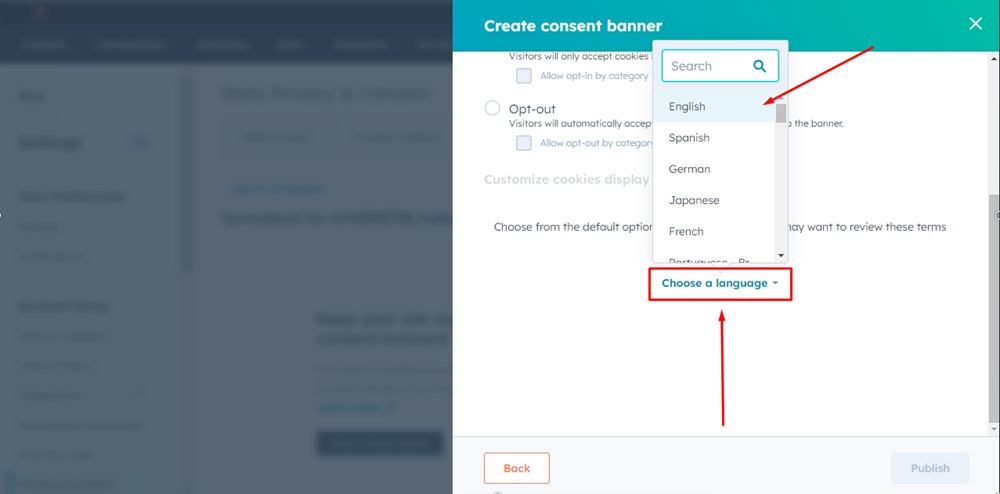
  9. Choose a language for your banner:
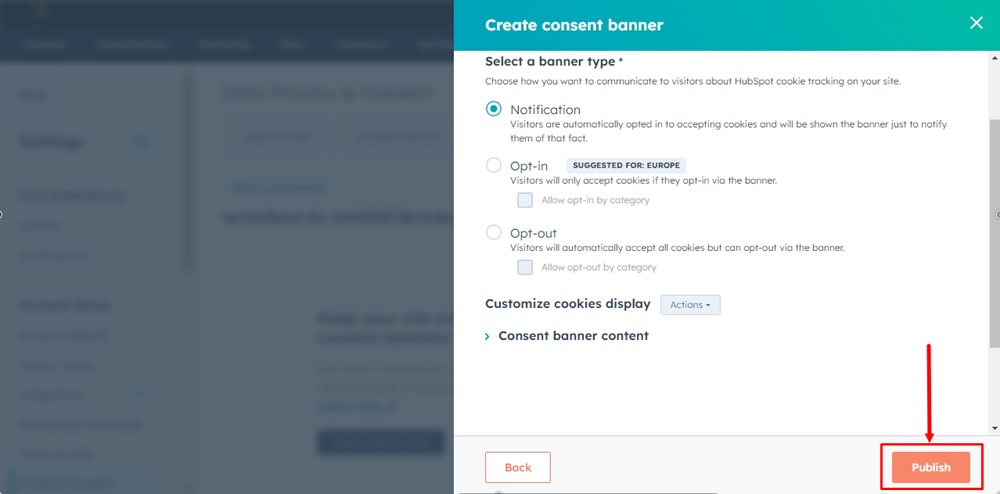
    TermsFeed HubSpot - Create consent banners - Notification step - Choose a language highlighted

  10. Click Publish:

    TermsFeed HubSpot - Create consent banners - Notification steps - Publish highlighted

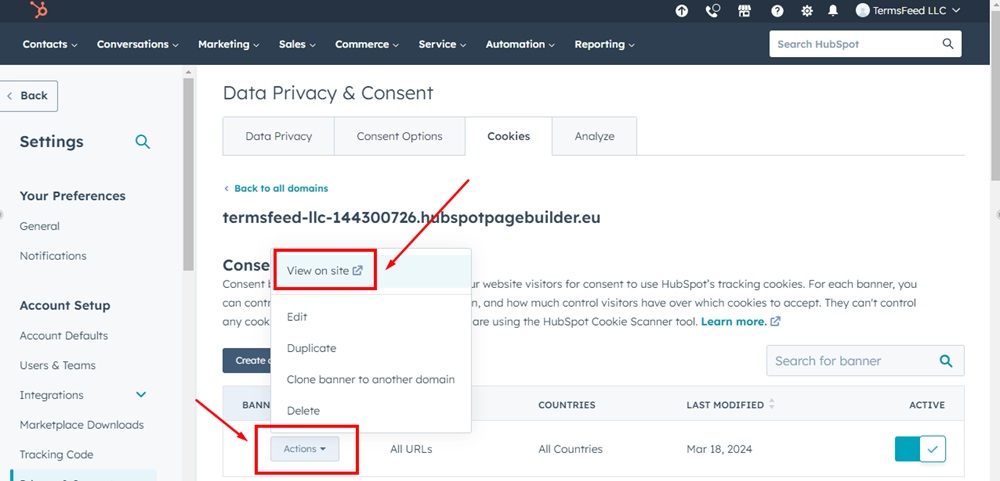
  11. You'll be back to the Data Privacy & Consent page with the Cookies tab selected. Select the banner and click the Actions and select View on site option:

    TermsFeed HubSpot - The Privacy Policy page - Rich Text - Preview - Open in a new tab

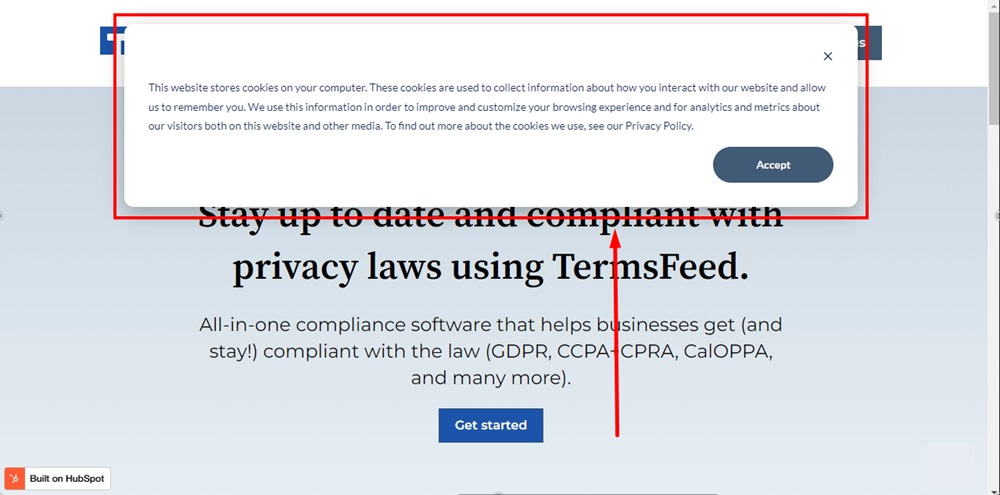
  12. The HubSpot's Cookie Banner is displayed on your HubSpot website:

    TermsFeed HubSpot - The Privacy Policy page -  Preview - Live site display